Categories
Zoanthid Corals can be found in most tropical water ecosystems, including the waters around the Caribbean as well as the Indian and Pacific Oceans.
That being said, they can be found at all levels of depth and different water temperatures as well.
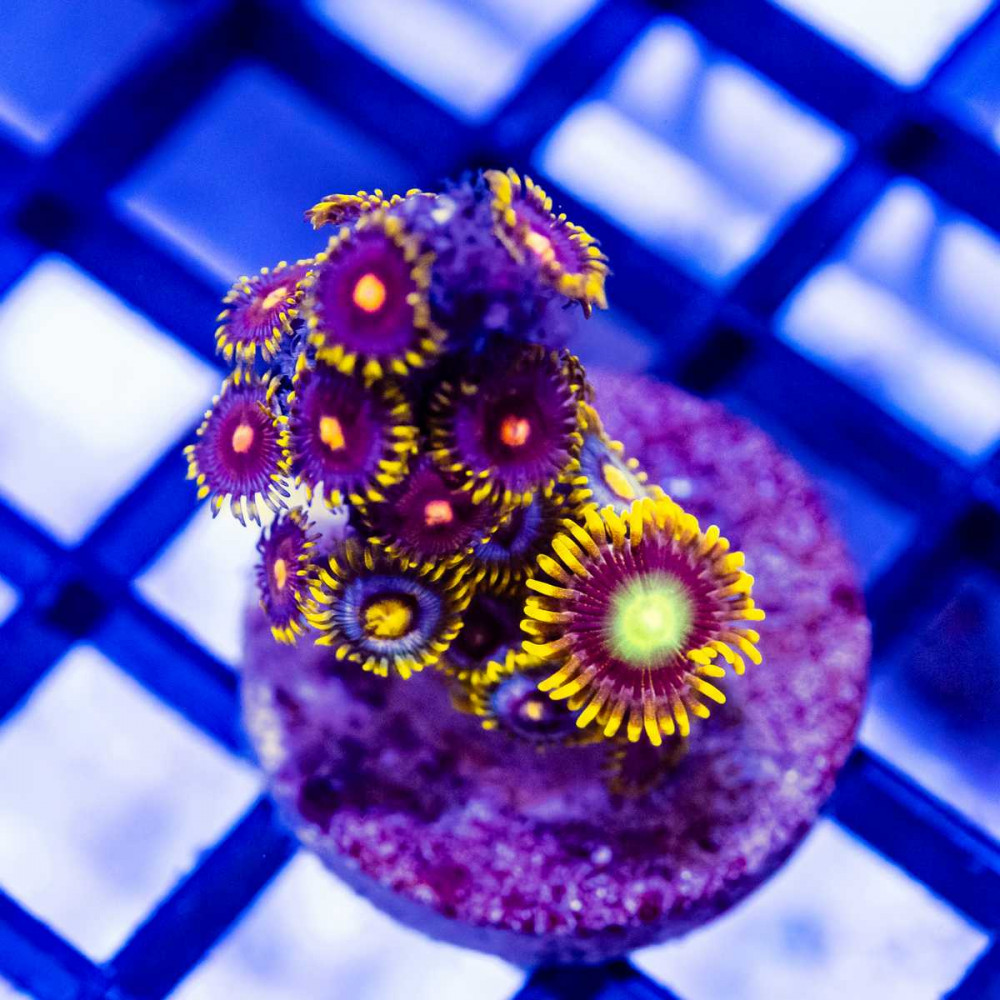
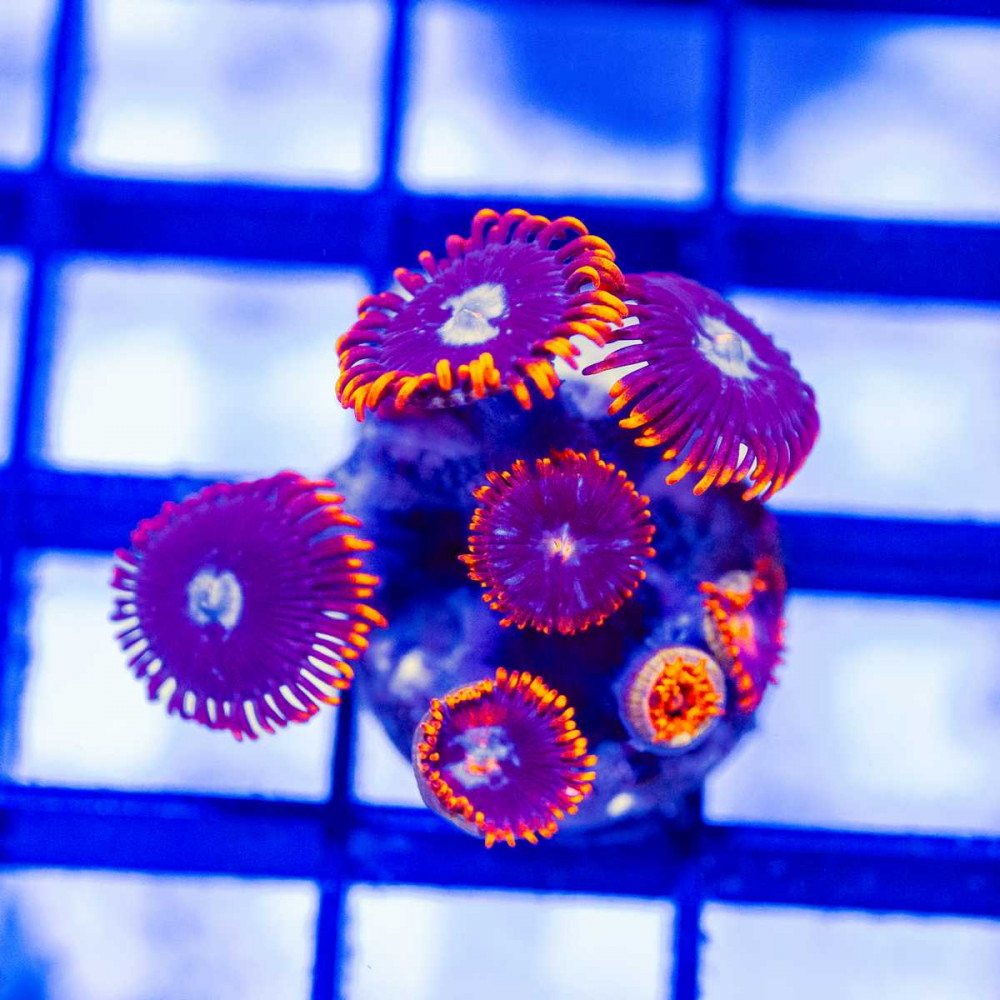
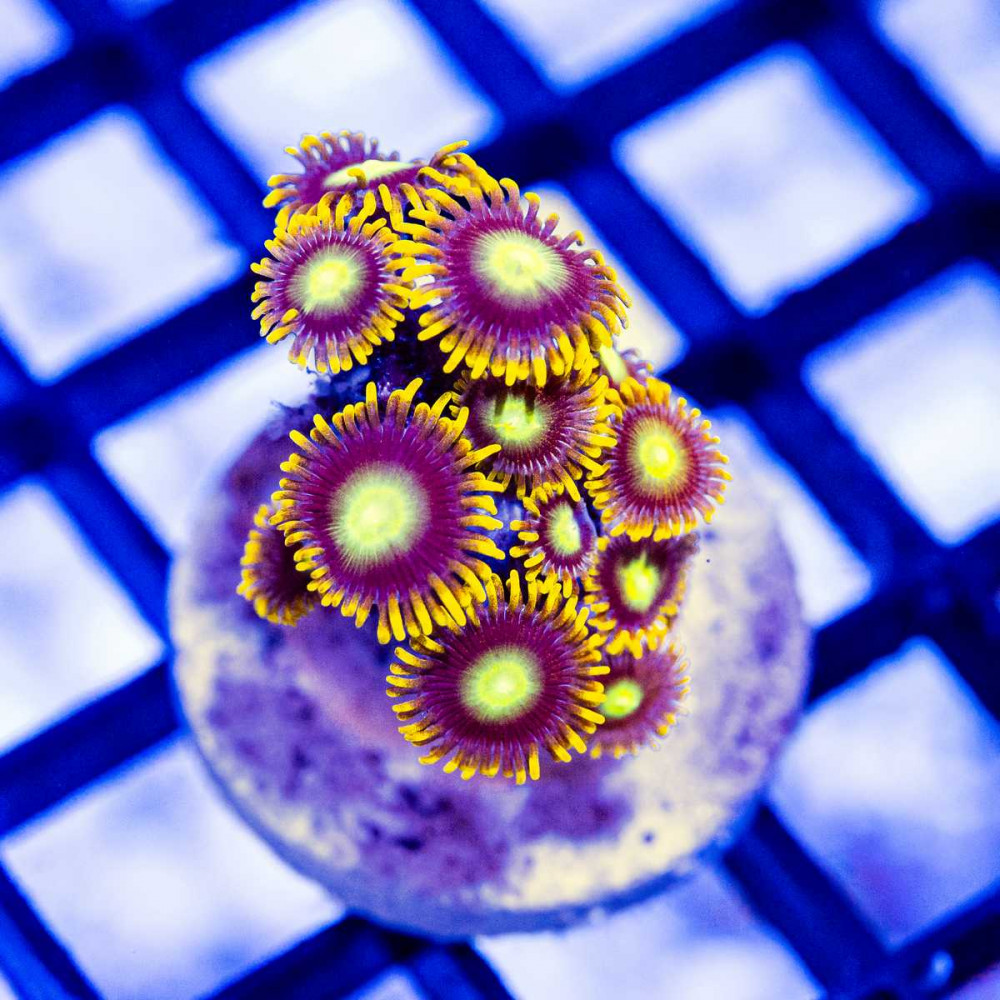
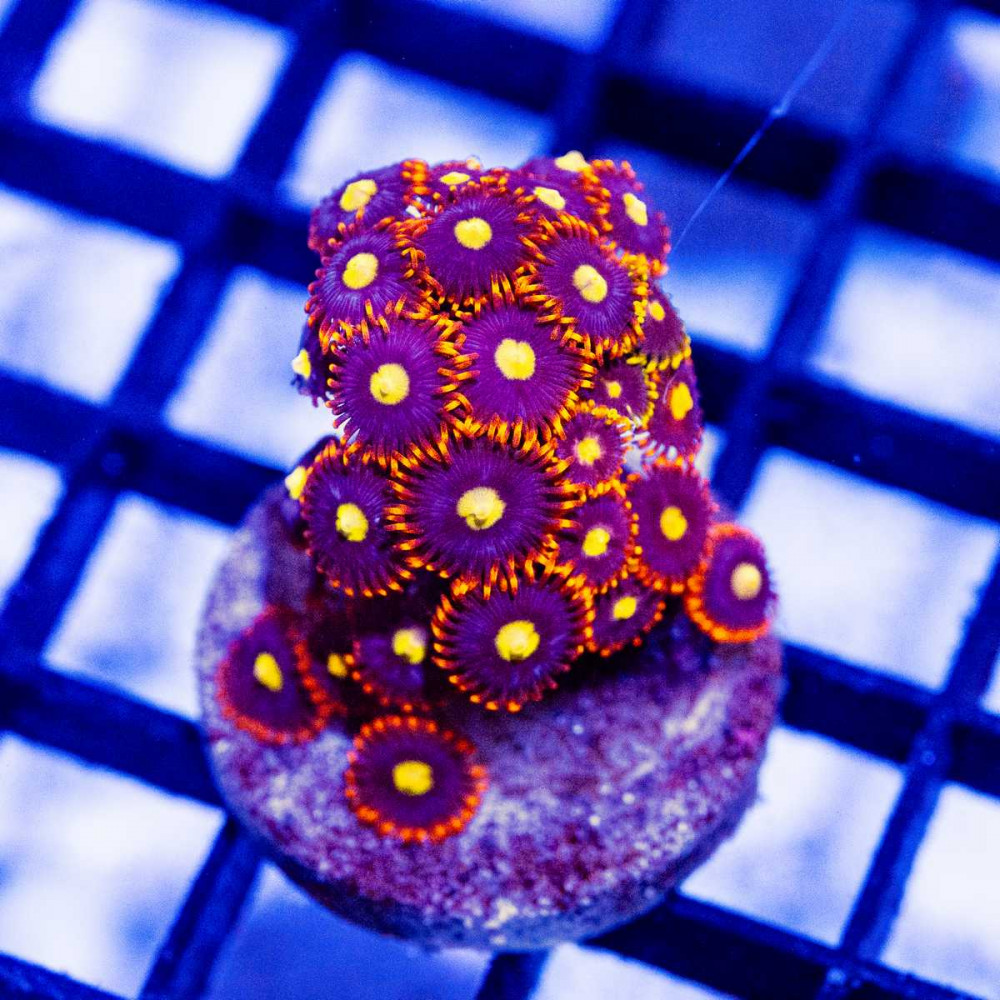
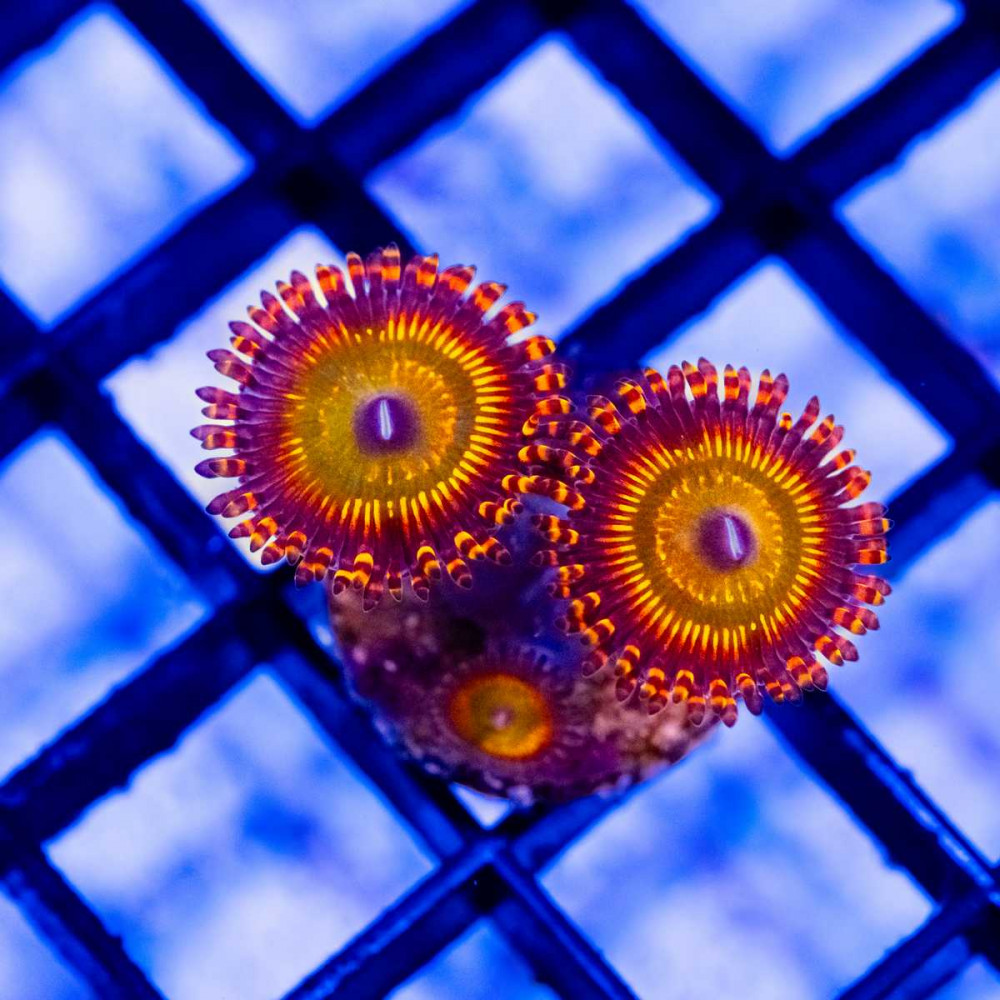
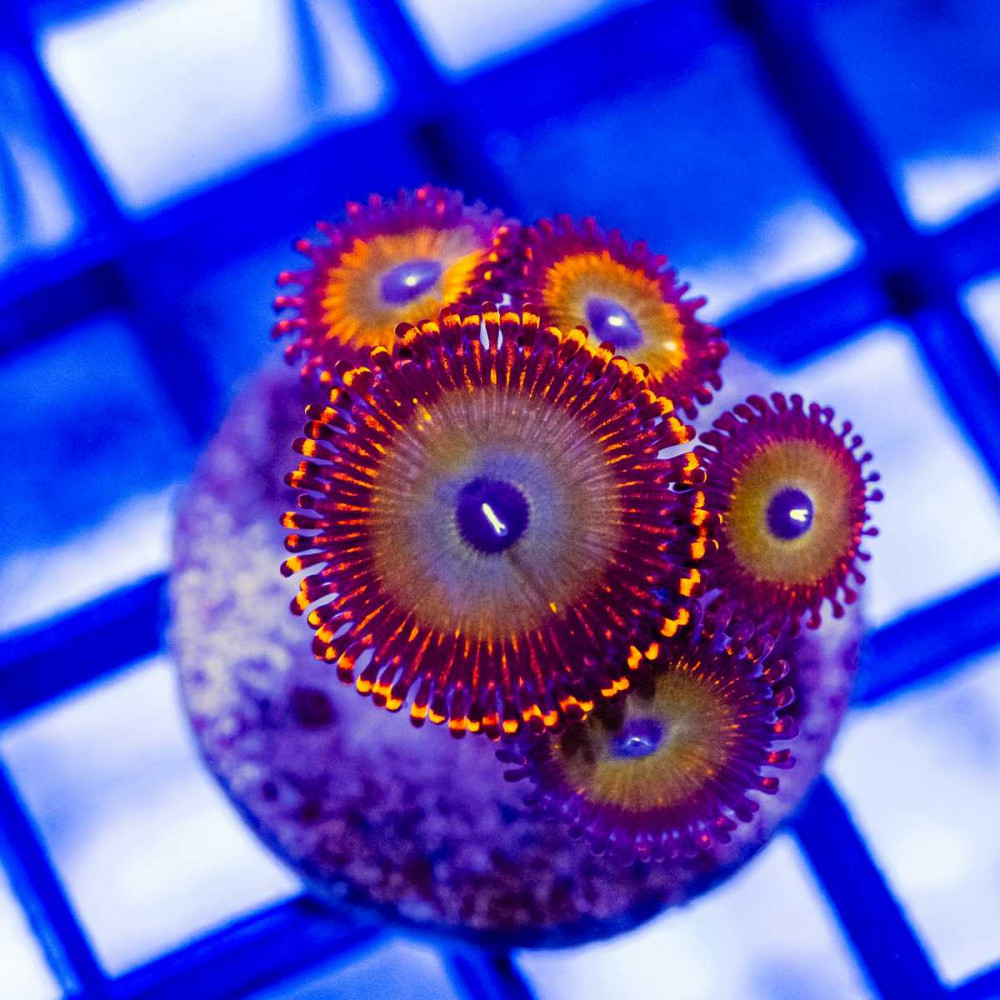
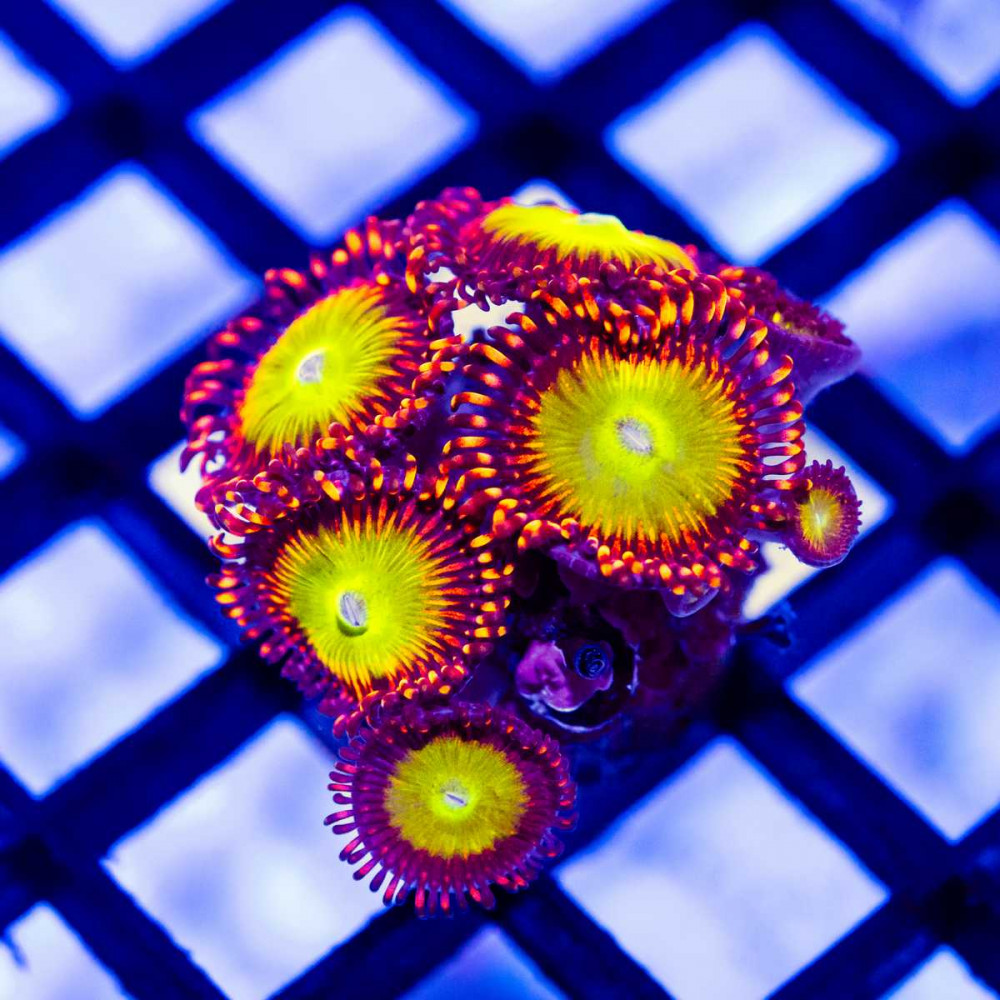
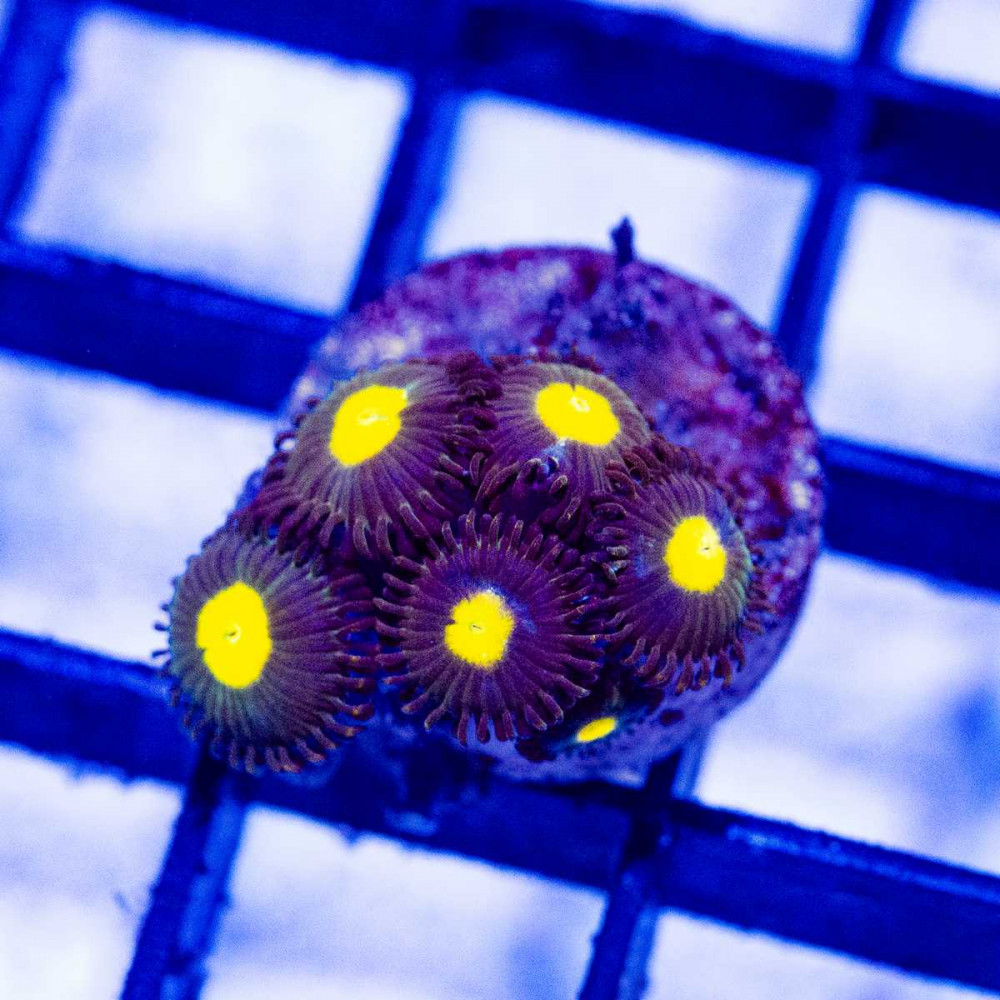
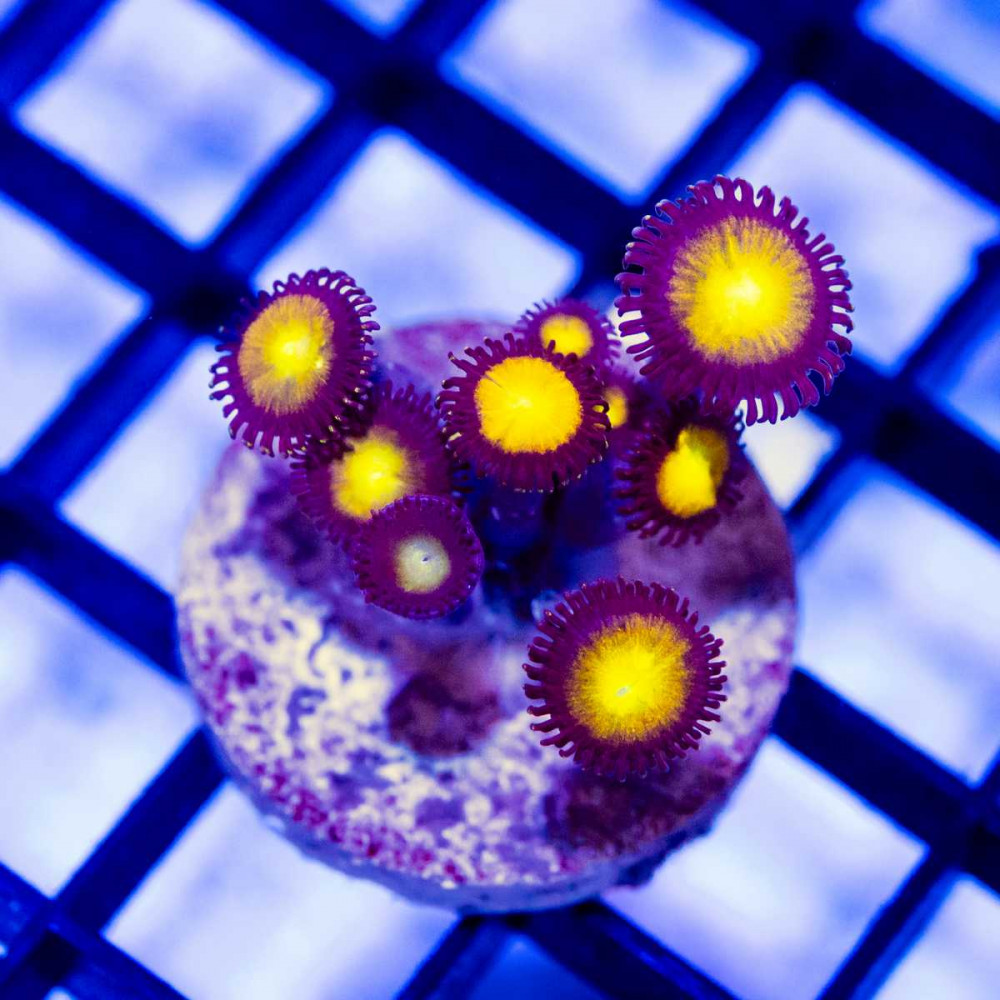
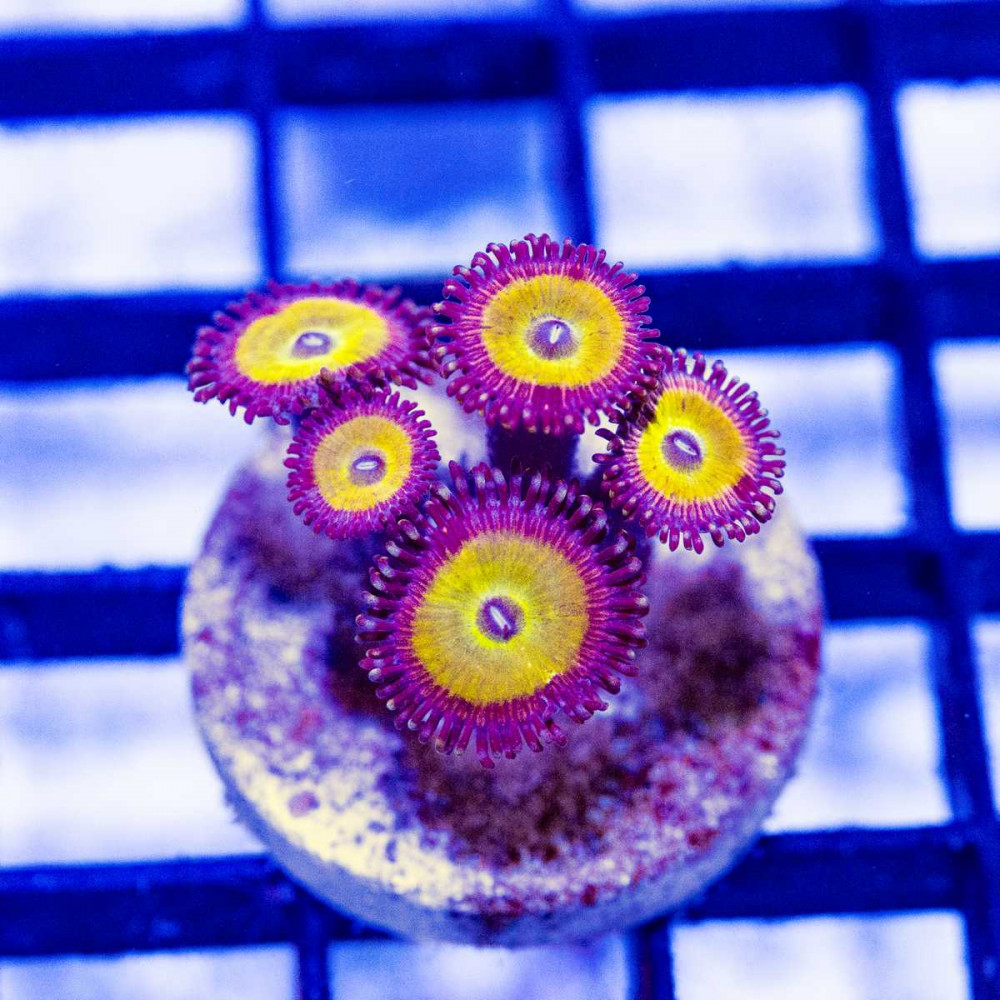
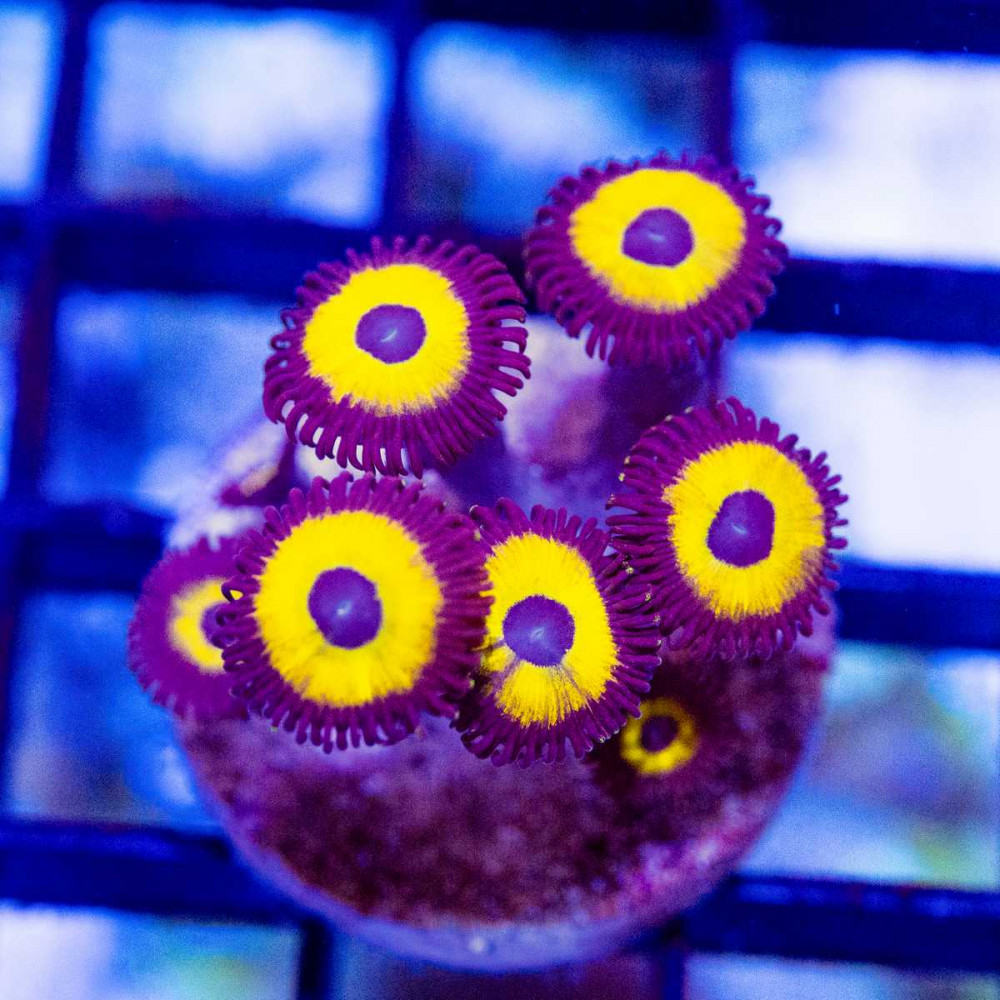
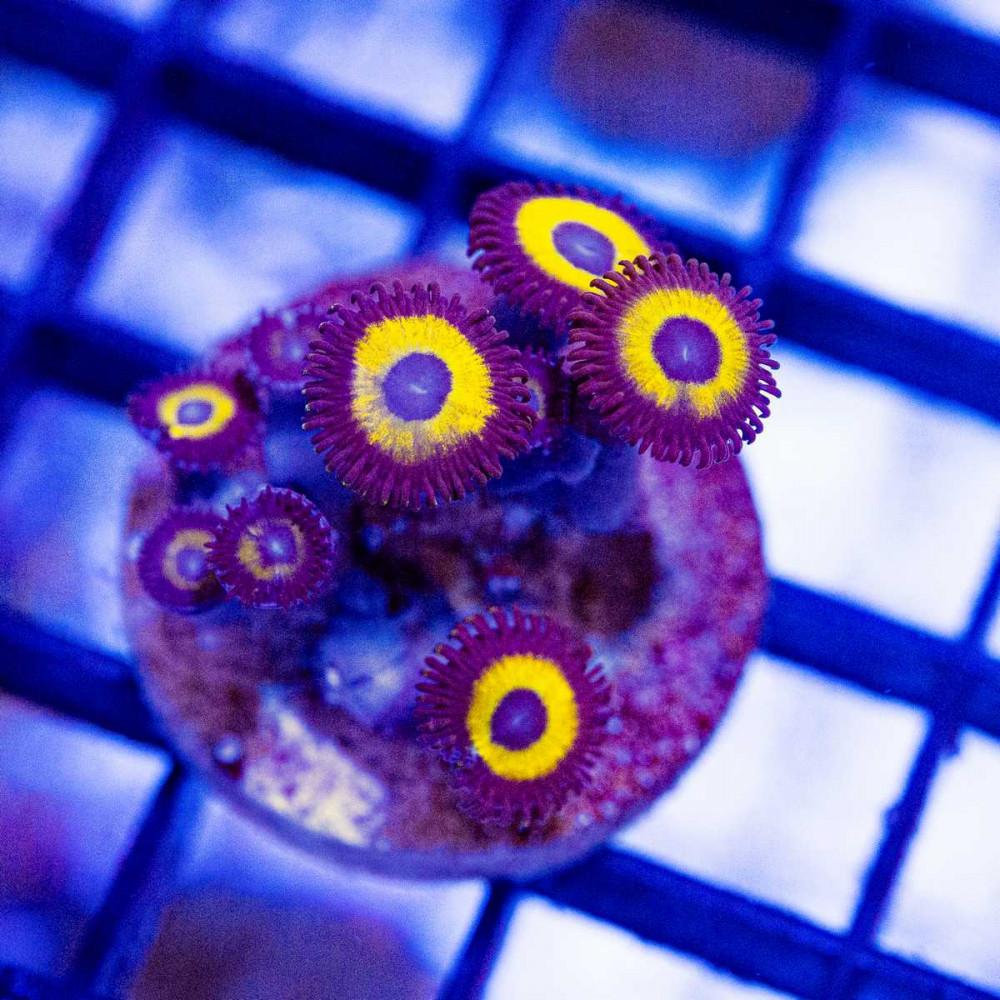
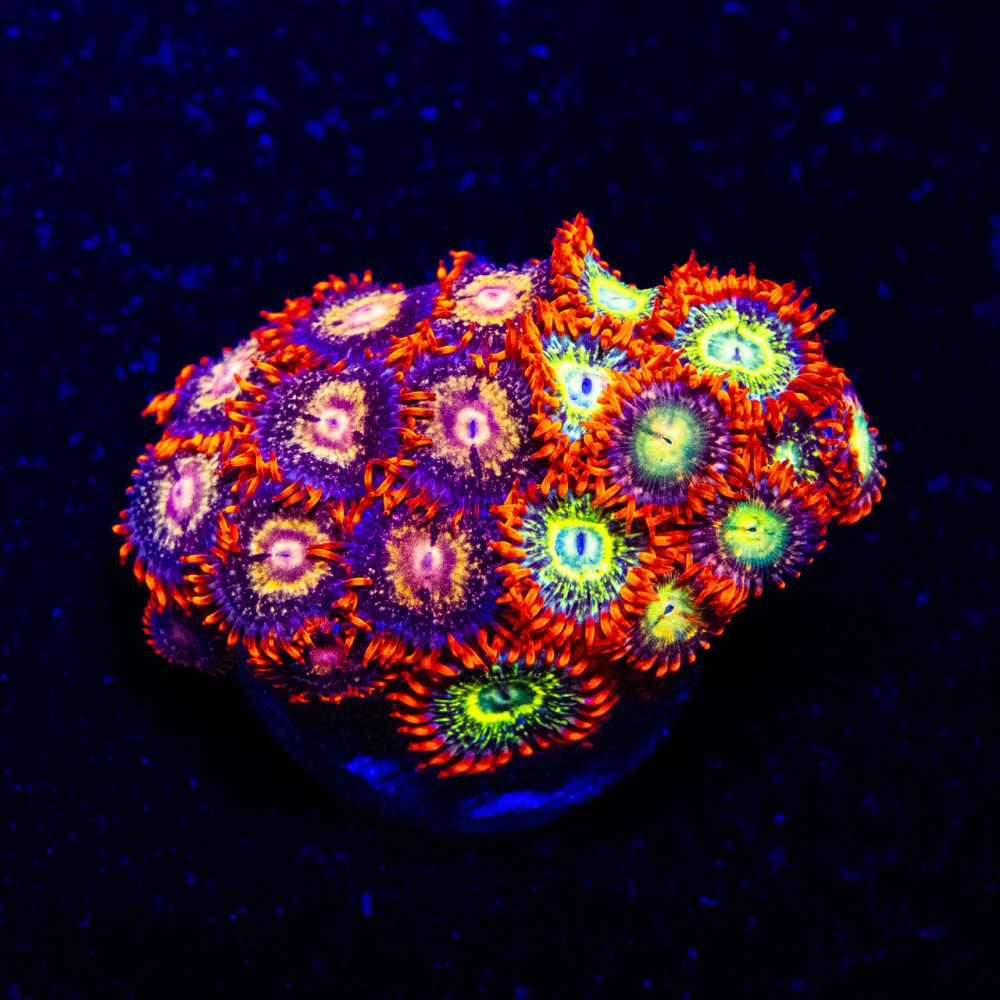
Zoanthids are a small, Soft Coral that spreads by growing outward from the main colony.
Zoas are very colorful and far less picky about water parameters than LPS and SPS corals.
Zoas are a variation of Palythoa coral with small polyps. Often, these names are used interchangeably describing both Zoanthid and Palythoa Corals.
The difference is largly in the size of the Coral Polyp.
Zoanthid polyps are usually the size of a dime or smaller, where pally polyps are typically the size of a dime or larger.
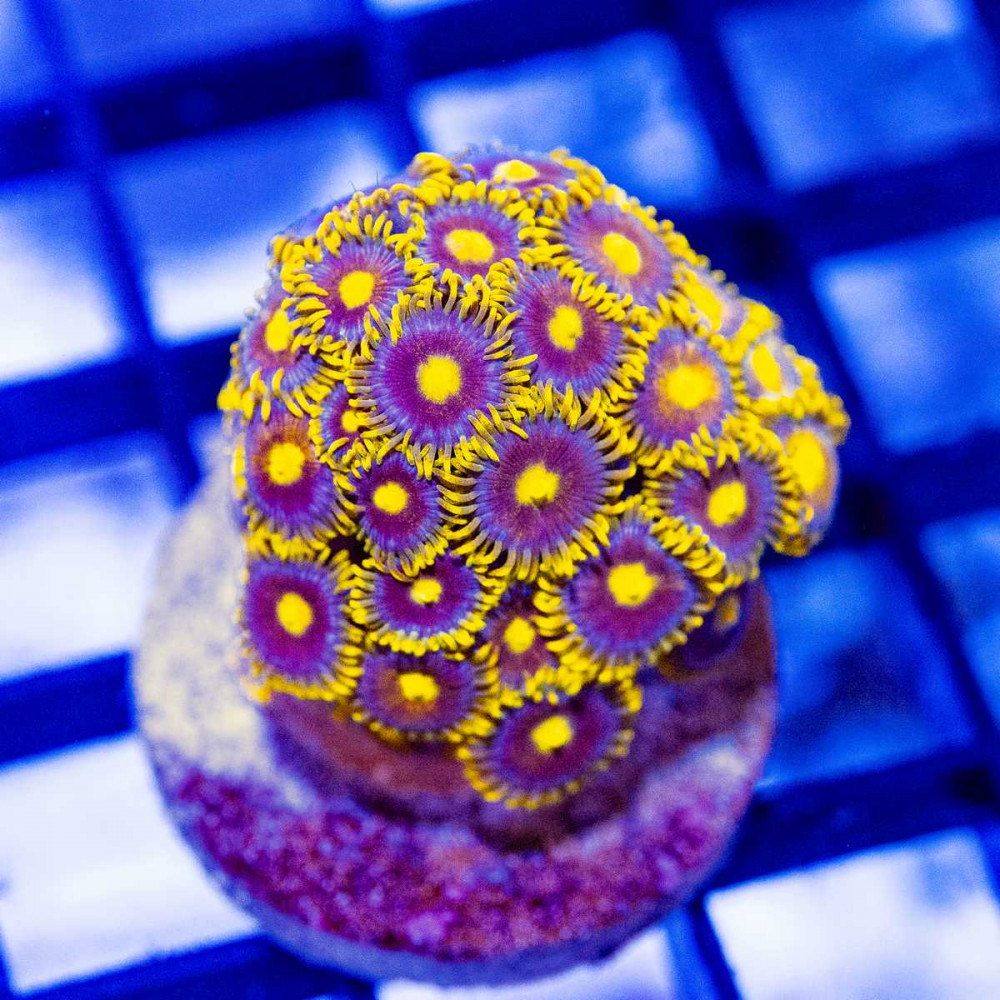
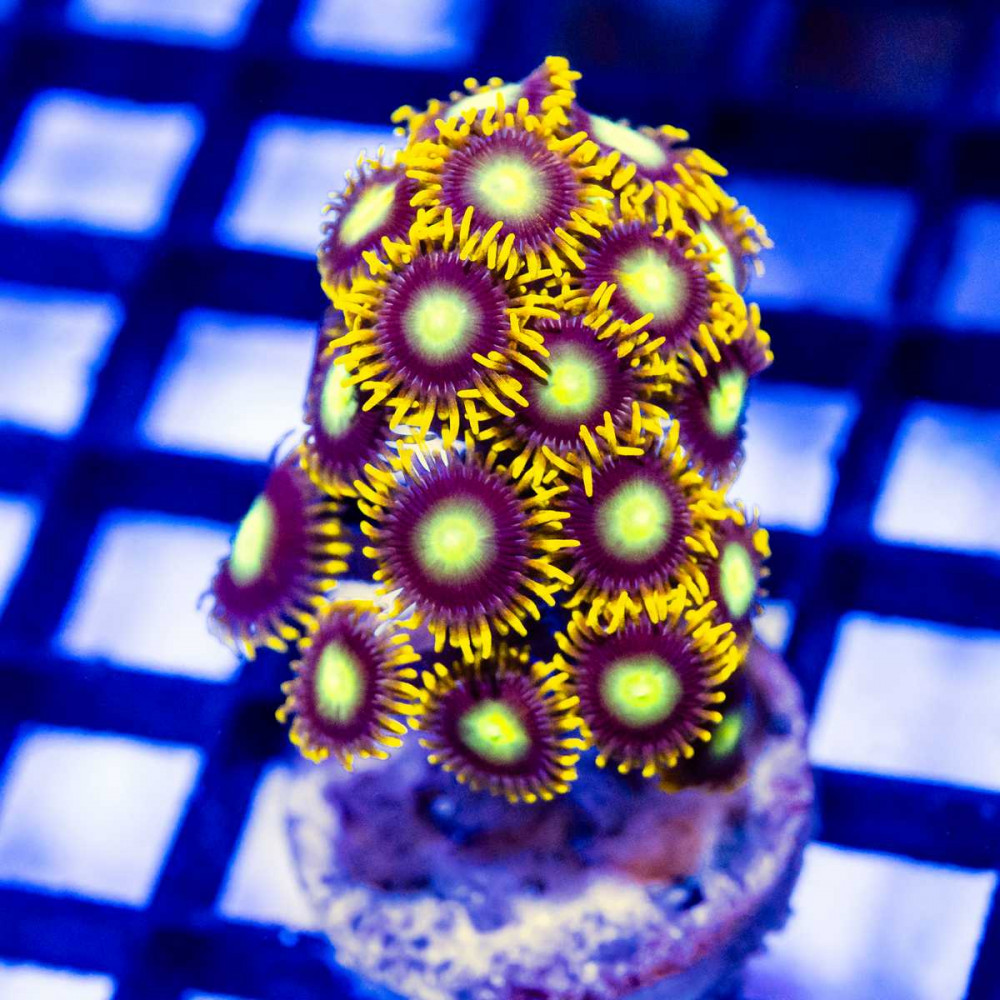
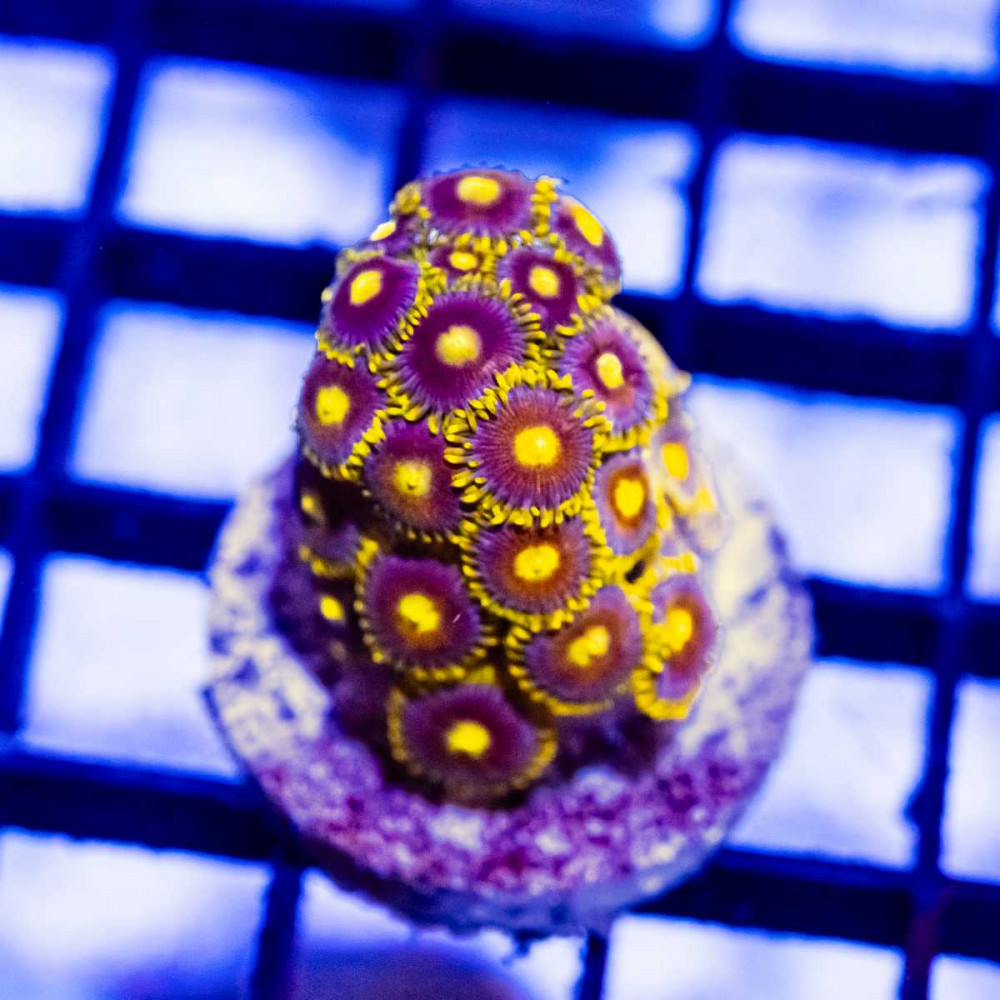
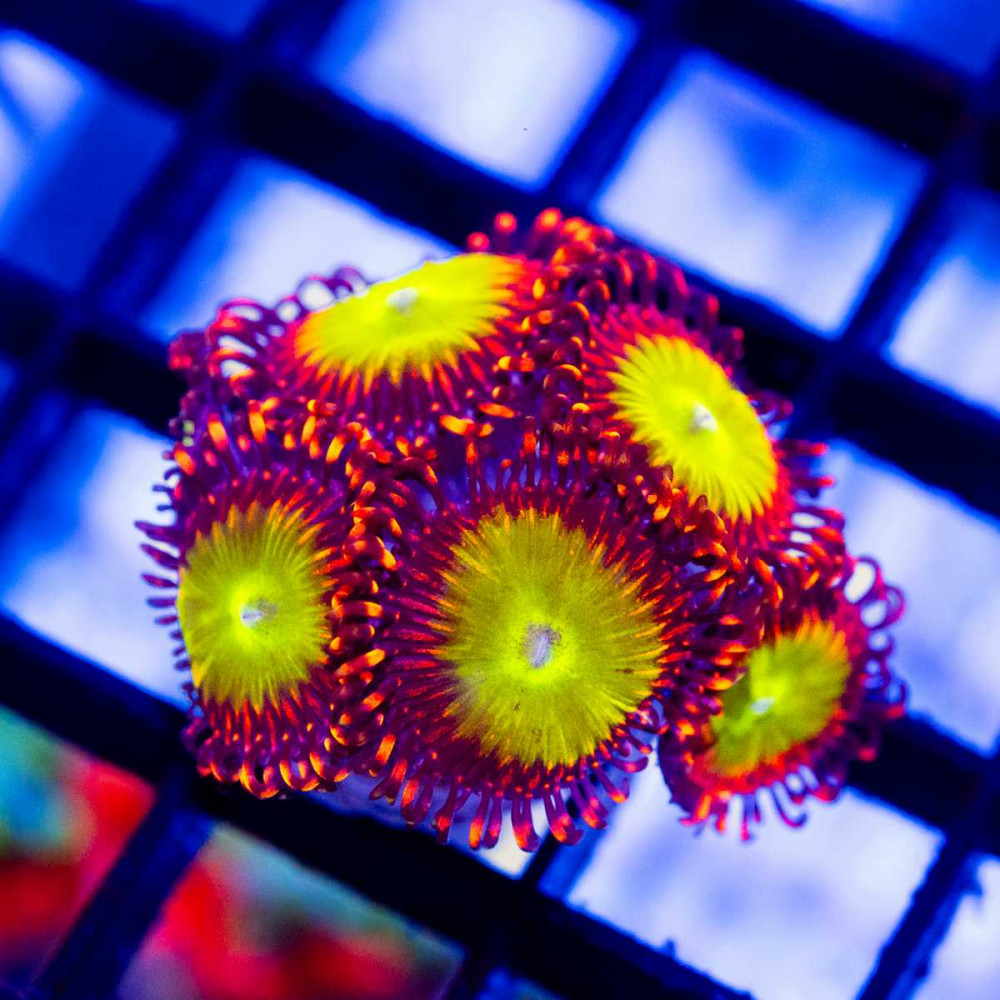
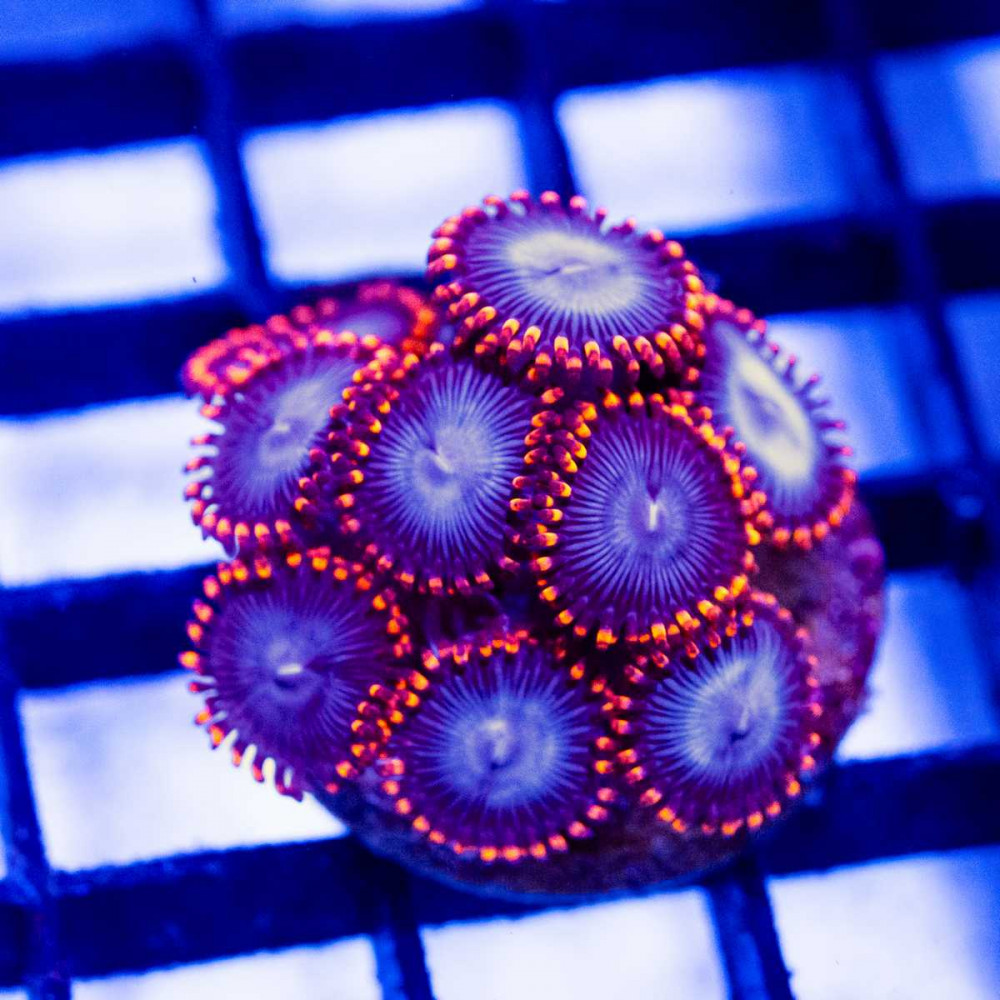
These Corals form mats of polyps that individually give way to a colorful head. Zoanthids lack a calcium carbonate skeleton and are referred to as Soft Corals due to their fleshy structure.
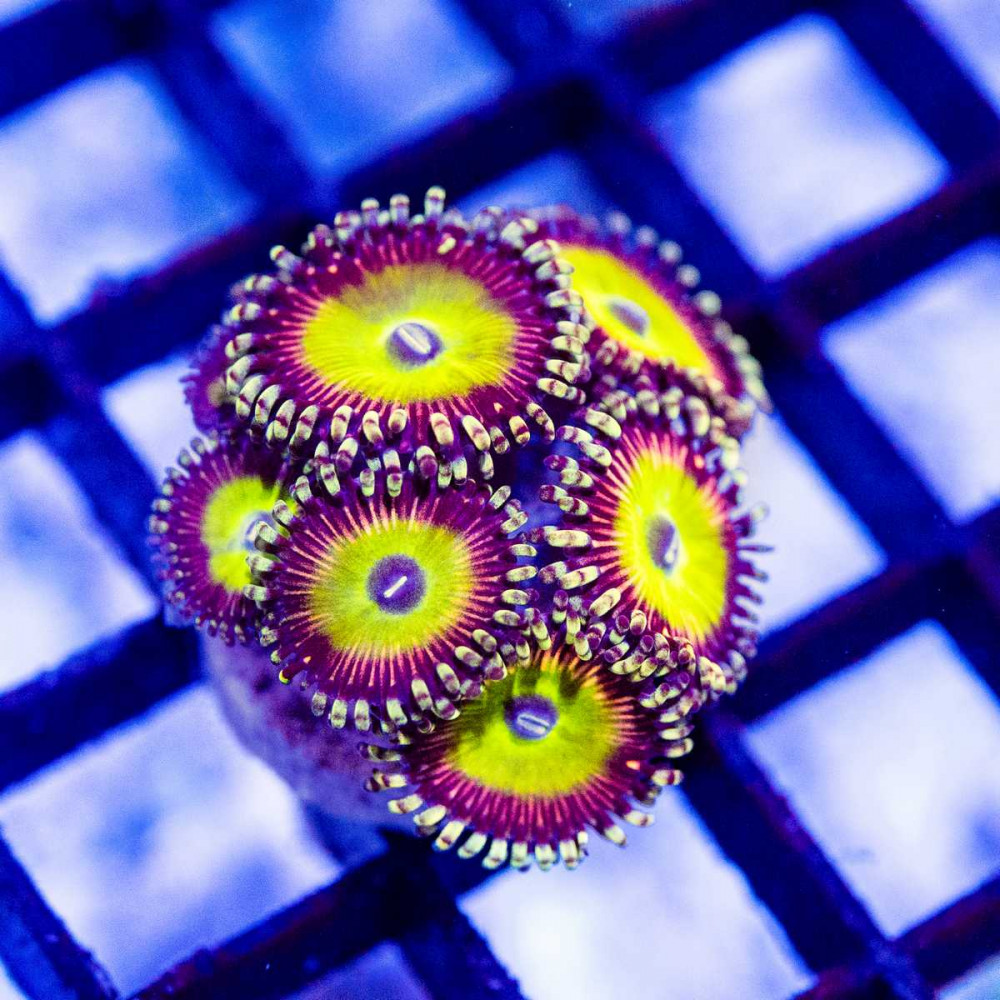
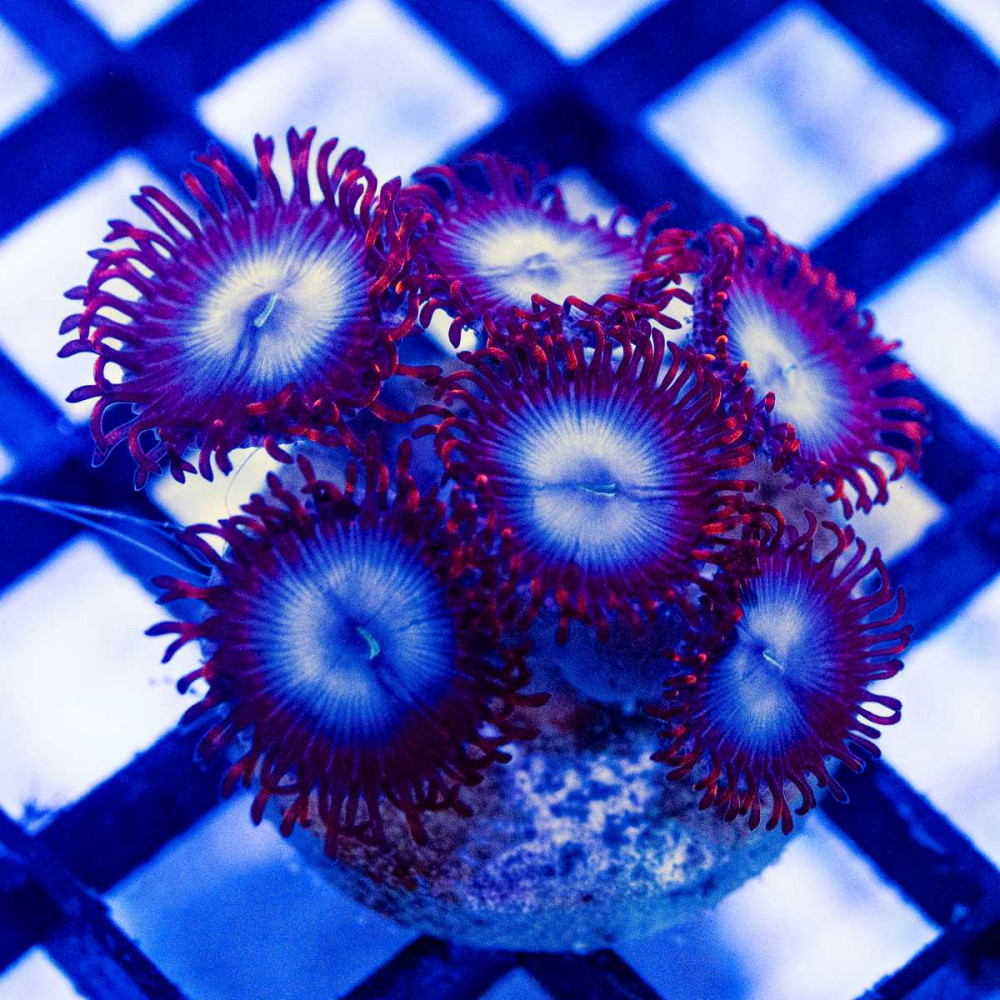
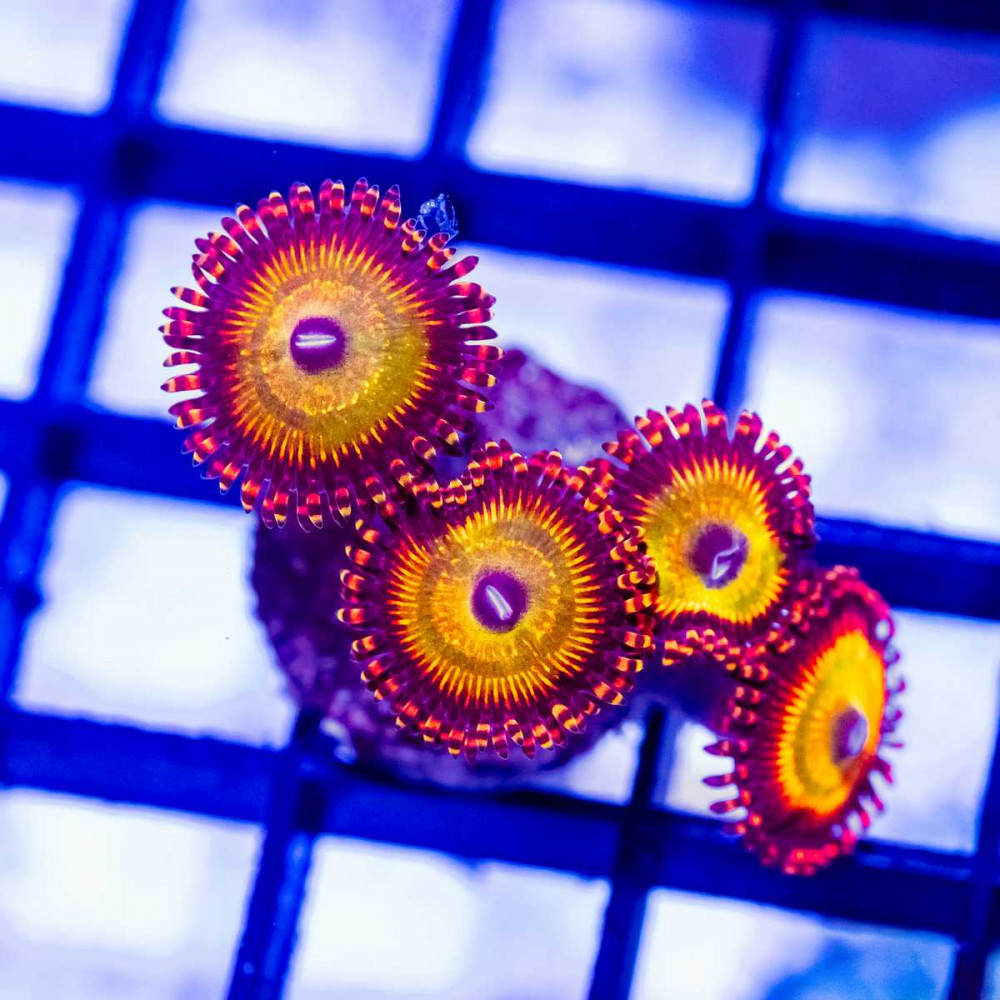
This polyp head has two rows of tentacles on the outer rim and usually has several colors as you work your way into the center towards the mouth.
Zoas are sometimes confused with Palythoa spp., but Zoanthids are usually smaller, more colorful, and also have shorter tentacles and a rounder mouth.
One of the primary ways to determine what genus and species a Zoanthid colony belong to is to determine the growth form of the colony. There are three common colonial growth forms:
Massive or Mat
Connected
Individual or Solo
Massive or Mat Colony Formations
These Zoas generally belong to the Palythoa genus and are identified by a very thick mat, called a coenchyme or mesoglea.
You can tell by looking at them that the mat is thick and substantial, making up a large amount of the weight of the entire colony.
Some species will incorporate bits of rock, sand, or other matter to help make the mat even more substantial and structurally supportive/tough
Connected
The next way some button polyp genera grow is connected at the base by a thin mat or runner. This thin connective tissue is called a stolon.
Individual or Sp;p
The last growth form is exhibited by certain genera that grow with individual stalks, not generally connected at the base.
Now that we know how the various Zoanthid Polyps grow, concerning the relative connectedness within their colonies, it’s helpful to note that there are 4 genera of Zoanthid corals you tend to find in the aquarium hobby.
Four Popular Genera:
1.Protopalythoa
2.Zoanthus
3.Parazoanthus
Some Zoanthids contain the highly toxic substance palytoxin.
Palitoxyn is a very dangerous toxin that can be life-threatening depending on exposure; palytoxin poisoning includes flu-like symptoms and skin reactions as well as muscular and cardiac complications.
It is believed that Bacteria living within the Zoanthid Coral polyp are responsible for making the palytoxin as opposed to the Coral itself.
This toxin can be released underwater as well as above and poses a risk of being inhaled or entering an orifice; consuming plants and animals that have been exposed to palytoxin can also cause poisoning.
In practice you are not likely to get Palytoxin poisoning just by having Zoas or Palythoa in your home Aquarium.
It resides in the flesh of the coral so it becomes an issue when the colony is damaged.
People have gotten sick from scrubbing Palythoa off of rocks or propagating a colony with a band saw that would send the particles airborne and then inhaled.
People have also gotten sick by boiling rocks with colonies on it because that too sends the compounds airborne and unlike many other proteins, palytoxin does not lose its toxicity when heated.
Even though Zoas are one of the most dangerous animals on this planet, they’re not aggressive to other corals in the tank.
Water Flow
Place Zoanthid Corals in an area of low-medium to medium-high flow.
Too much flow may make it hard for the polyps to open. You will know your Zoanthids are “happy” if they open and are fully extended without seeming to stretch too far upright.
Zoanthus by their very shape invite detritus accumulation and a Zoa Colony that is dirty is very different than one that is kept clean.
The buildup of detritus can slow a colony’s growth or even cause it to die back.
Medium-high water flow helps keep detritus buildup to a minimum as well as flushing away waste that the colony generates.
Lighting Requirement
In terms of lights, it is advised to keep Zoas in low-to-medium light.
Zoanthids are Photosynthetic Coral, however they do not demand nearly as much light as many other Corals.
For best growth and coloration, blue and actinic color lights are ideal. Aiming for roughly 8 - 10 hours of full light, and 2 - 4 hours of ramping up/down will typically satisfy most corals, including Zoanthids.
One indicator of how much light is needed for each different variation of Zoanthid seems to be based on their coloration.
The brighter the Zoanthid coloration, the more light it needs to thrive.
If your Zoas are stretching in their stalks, it is almost certainly because they are not getting enough light.
Do know though that some Zoas have naturally longer stalks than others, so don't always mistake the stretched stalk with low light conditions.
Water Parameters
Zoanthids require standard water parameters that are good for keeping just about any Corals Healthy
- Calcium: 350 - 450 ppm
- Phosphates: 0,05-0,2
- Nitrates : 5 and 20 ppm
- Magnesium: 1200 - 1350
- Strontium: 8 - 10
- Temperature: 75F -80F
- Salinity : 1.023-1.025 specific gravity
- Hardness : 7-9 dKH
- pH : 8.1-8.4.
Diet / Nutrition
These Corals get most of their nutrients through fish waste as well as other detritus that is already available in the water column.
There is no doubt that Zoas benefit from food, and will grow more quickly if they are fed regularly, but Zoas will not show any better colors or health If you feed Zoas you will also be feeding other undesirable organisms in your tank, like algae, Aiptasia, etc.
You will also most probably increase your nitrate or Phosphate levels so feeding Zoas can easily do more harm than good.
If you are a more advanced hobbyist and want to maximize your Zoas' growth then feeding is worth doing, but almost all Zoas spread very quickly, so the last thing anybody wants is for them to spread quicker.
If you just bought your Polyps, don’t worry if they don’t open right away.
Some of the more rare and delicate Zoanthid Corals may take a couple of days to open after transportation to your home.
However, if your polyps were previously open and have recently closed, this should be taken as a serious sign of a water parameter issue.
Identifying problems with Zoas is the same as with many Other Corals. Check your temperature Salinity, Alkalinity, and Nutrients to make sure everything is okay and stable.
The most common cause of the problem is too much light in the tank, so try moving the frag to a lower light spot or turning your lights down if you cannot remove the Frag.
If you have Fishes like Regal Tang, Angelfish, Butterflyfish, or Rabbitfish, there is a big possibility that they are bothering your Zoas.
Alternatively, you may have a pest on them, so if you can pull the affected Zoa out, give it a dip in pet treatment and see if anything falls off.
Pests / Diseases
Zoanthids, sometimes called Zoas, are popular, Hardy Corals.
They will occasionally suffer from a pest or disease that may be introduced with them or by new tank inhabitants.
Here are a few of the most popular: Zoanthid eating nudibranchs, Sea spiders, Sundial Snails.
Zoa pox is also a common affliction among Zoanthids.
The most concerning pest that we run into are Zoa-Eating Nudibranchs.
Nudibranchs in general are really difficult because unlike other pests, these guys don’t mind traveling off the Coral. The nudibranchs, by eating the Zoa, will take on the coloration of that Zoa, and the little spokes on their back kinda look like the tentacles of a Polyp.
Another pest that afflicts Zoas are sea spiders.
They typically only come on Fresh wild cut colonies.
They latch on to the Zoanthids at the mouth of the Polyp and lay eggs inside the Polyp. Later as the spiderlings hatch the Polyp disintegrates in to a grey mess.
Sundial snails may appear to be harmless Snails, but they are predators. Unfortunately for hobbyists, sundial Snails like to eat Zoanthids.
There are 3 main ways of pest control among aquarists:
Physical
Manual labor, which means you have to explore the Coral for pests with your eyes and then remove them with tweezers.
The pests are often similar in Color to the Coral (so they have a better chance of going undetected) so be careful.
Explore the Zoanthid from every angle to spot the eggs.
Zoanthid eating nudibranchs asexual, so if you find several of them in the Aquarium, chances are good that they have already laid eggs in the most hidden corners.
Usually, nudibranchs lay up to a hundred eggs, which hatch between 2 and 4 days. Even if the hobbyist was diligent and cleaned every single Zoanthid Colony, it is likely these sea slugs are still hiding somewhere in the rock work and can reemerge later.
Chemical
The chemical composition of dip products eliminates pests and acts like disinfectants.
NEVER apply dip directly into the tank, use a separate container!
You will need 2 containers and some water from the Aquarium.
Shake the dip before use and mix with water according to package directions (usually 20-25 ml per gallon of water).
Put the diseased Coral in a bowl and use a baster to allow the dip to penetrate all parts of the Coral.
Dip the Polyps from the top, bottom, and sides. This procedure takes on average 5 to 15 minutes.
Place Coral in a container with tank water at the end of the procedure and rinse off the chemicals.
Do not use the dip more than 1 time per Coral. Toxins can remain in the solution.
Natural
Depending on the population of your reef tank, you may find some fish and animals which will help you with pests.
The most common choice versus Zoanthid eating nudibranchs is to populate a tank with Wrasses (Six-Line Wrasse and Yellow Wrasse in particular) White-Barred Wrasse and Checkerboard Wrasse also work well.
The principle of this method is based on the hunting instincts of Fish. To put it simply, they just need food to live. The advantage of this approach is its flexibility and results.
Zoa pox
One of the symptoms of Zoa pox is yellowish white “pimples” on the stalks of Zoanthids. Soon, the Polyps close, and the coral will die off.
This can wipe out just one colony or even spread to other Zoa Colonies.
These usually come in on wild Colonies, but it can also come on Colonies that perhaps didn’t receive enough flow.
Without enough flow, lots of detritus can settle on these Corals and can irritate it and cause this infection.
As long as you keep the Zoas clean going forward, you won’t have another issue with Zoa Pox.
it’s very uncommon for Zoa Pox to actually kill an entire colony of Zoas. One of the ways to treat Zoo Pox is to use the drug Furan-2.
How To Propagate Zoanthids
Zoanthids are one of the most diverse and Beautiful Corals.
They are easy to cultivate and don’t require a lot of labor to maintain and sustain them.
These Corals are asexual and one polyp can quickly turn into 50 over the course of a few months.
This accelerated growth of the Zoas can disturb the ecosystem inside the water tank. They can cause rapid depletion of Nutrition for other aquatic occupants in the tank and cause an ionic and pH imbalance in the Aquarium.
Fragging creates more room for the plants and Fishes to grow.
Fragging Zoanthids is very straightforward.
The number of Polyp heads you decide upon will be related to the size of your source colony.
However, six to ten makes a good starting number to get to grips with.
Propagating Zoanthids can be a little intimidating as the threat of palytoxin is always looming.
Care must be taken when cutting Zooanthids because if the palytoxin gets in the bloodstream a person will become very ill.
Fragging Zoanthids is very straightforward, but you will need some basic equipment:
1. Latex gloves
2. Protective eyewear
3. Cutters
4. Glue
5. Razor blade
6. Frag Plugs, rubble
7. Towel, kitchen paper , baster
8. Pair of tweezers
9. Three clean containers
10. Coral Dip
Be certain to wear clothing that you don’t mind getting glue on. Also, be sure to put your hair up if you have long hair.
Collect your equipment and make sure you have everything at hand in a well-lit work space.
Select your source Zoanthid and set up your workstation.
Add Aquarium water to the three containers:
1.Container is where you put the Zoanthids that you have selected for dissection
2.This place is where you will be putting the Zoanthids after you frag them. you need to mix the Coral Dip with the Aquarium Water
3.Container is needed to rinse off the newly cut Frags before you introduce them into the tank
With the help of a pair of tweezers, grab the specimen from the Aquarium.
Select the section on the Coral where you are going to make the cut.
Make sure that the polyps are retracted, so that you can easily make the incision.
Using the scalpel, cut the section under the Polyps where the tissue is connecting to the main colony.
Evaluating how your Corals can be separated by following natural breaks and shapes will allow you to frag them easier and give them the opportunity to heal and grow back faster.
After you have separated a piece from the main colony, then take a Frag Plug and apply a small dab of the Coral Glue , place the frag on top of the glue.
Don’t be overly concerned with keeping the Frags out of water for too long, but try to get them submerged as soon as possible.
Next, let the glue cure for a few seconds and add the Coral into In the second container.
You will want to use a baster to blast off any mucus the Coral has secreted.
Dip the plug into the second container.
After you have separated all the frags, add the main colony into the dip.
Dipping your recently created Frags in Iodine before securing them to a Frag Plug helps to promote a healthier and faster recovery.
The Frag Plugs need to be dipped in the solution for about 15 minutes.
Next, transfer the Plugs from the second container to the third one that is meant for rinsing.
After rinsing them in Aquarium Water, you can introduce them to the Aquarium.
While introducing the Frags into the Aquarium, please place them in a mid-current section. This placement prevents the detachment from the Plugs or Rocks.
After completion, be careful to wash your hands and all your equipment thoroughly.
Within a few days the Zoas will settle down and Polyps will open.
Placing Frags back into nearly identical conditions that they originally were in will allow them to heal much easier.

